
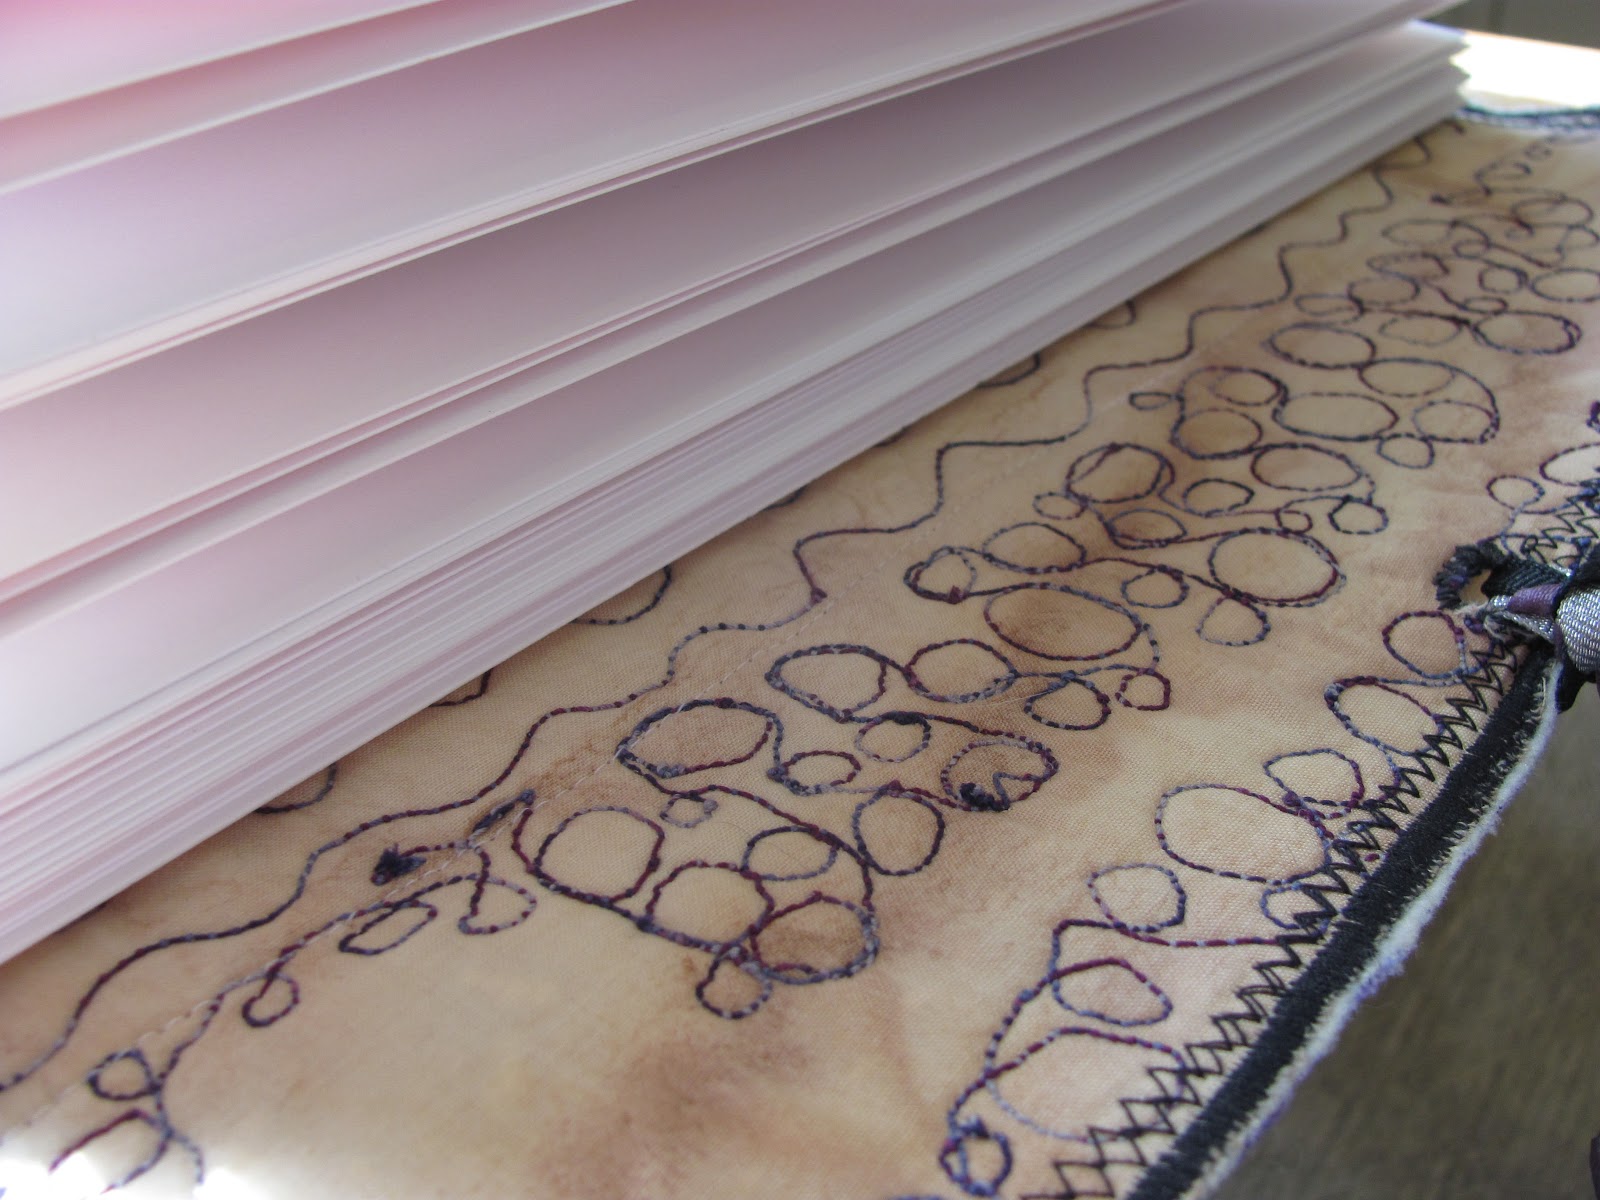
I finally finished making my art journal that I will be using this next year. It is filled with 80 pages of Strathmore mixed media paper. This paper has been able to take everything that I through at it, so far. It has a vellum finish, so it is nice and smooth to work on to. The paper is 9" X 12". I used linen thread to bind it. The cover is quilted. I took a piece of canvas duck cloth that I had washed and dried and cut it too the correct size. I then used fabric paints and a lot of water to paint my canvas.
I used this paint:
PROfab Textile Paints
Transparent & Opaque
(for all fabrics)
PROfab Textile Paints are made here in our plant and are ready to use from the jar. They have a jello pudding like consistency and are available in both Transparent and Opaque (for darker fabrics.) They are designed for Sun Printing, Screenprinting, hand painting, stenciling, and for use on any other surface that your creative mind can think of. They can be used on natural/synthetic/blend fabrics, wood, non-washable decorative glassware, and even ceramics. Our PROfab paints are water based, non-toxic and odorless. Mix with PROfab base extender to create pastel shades and with Lo Crock for water color effects. Heat setting is necessary for permanence.
and this paint:
Lumiere is just about the best fabric paint available! Concentrated high quality pigments and perfect coverage even on dark fabric. Lumiere is the metallic, iridescent version.
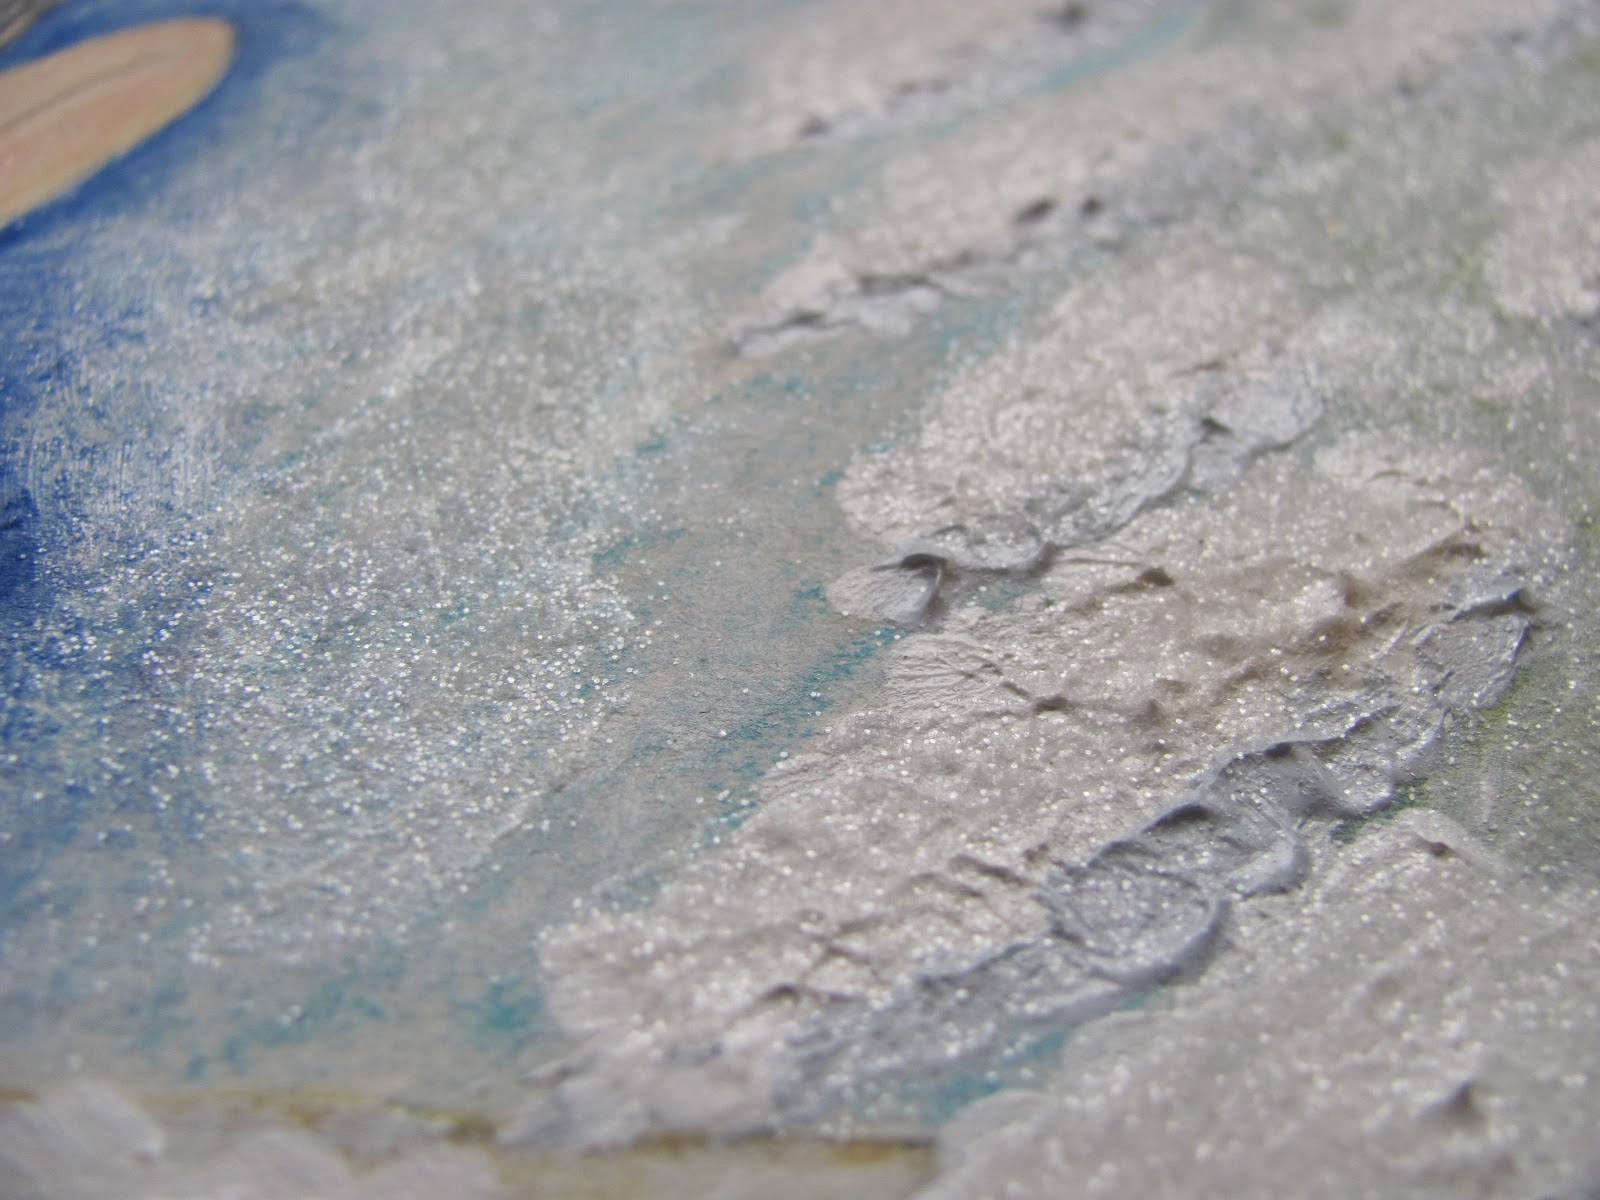
I also used Tulip fabric spray paint in white and diamond glitter.
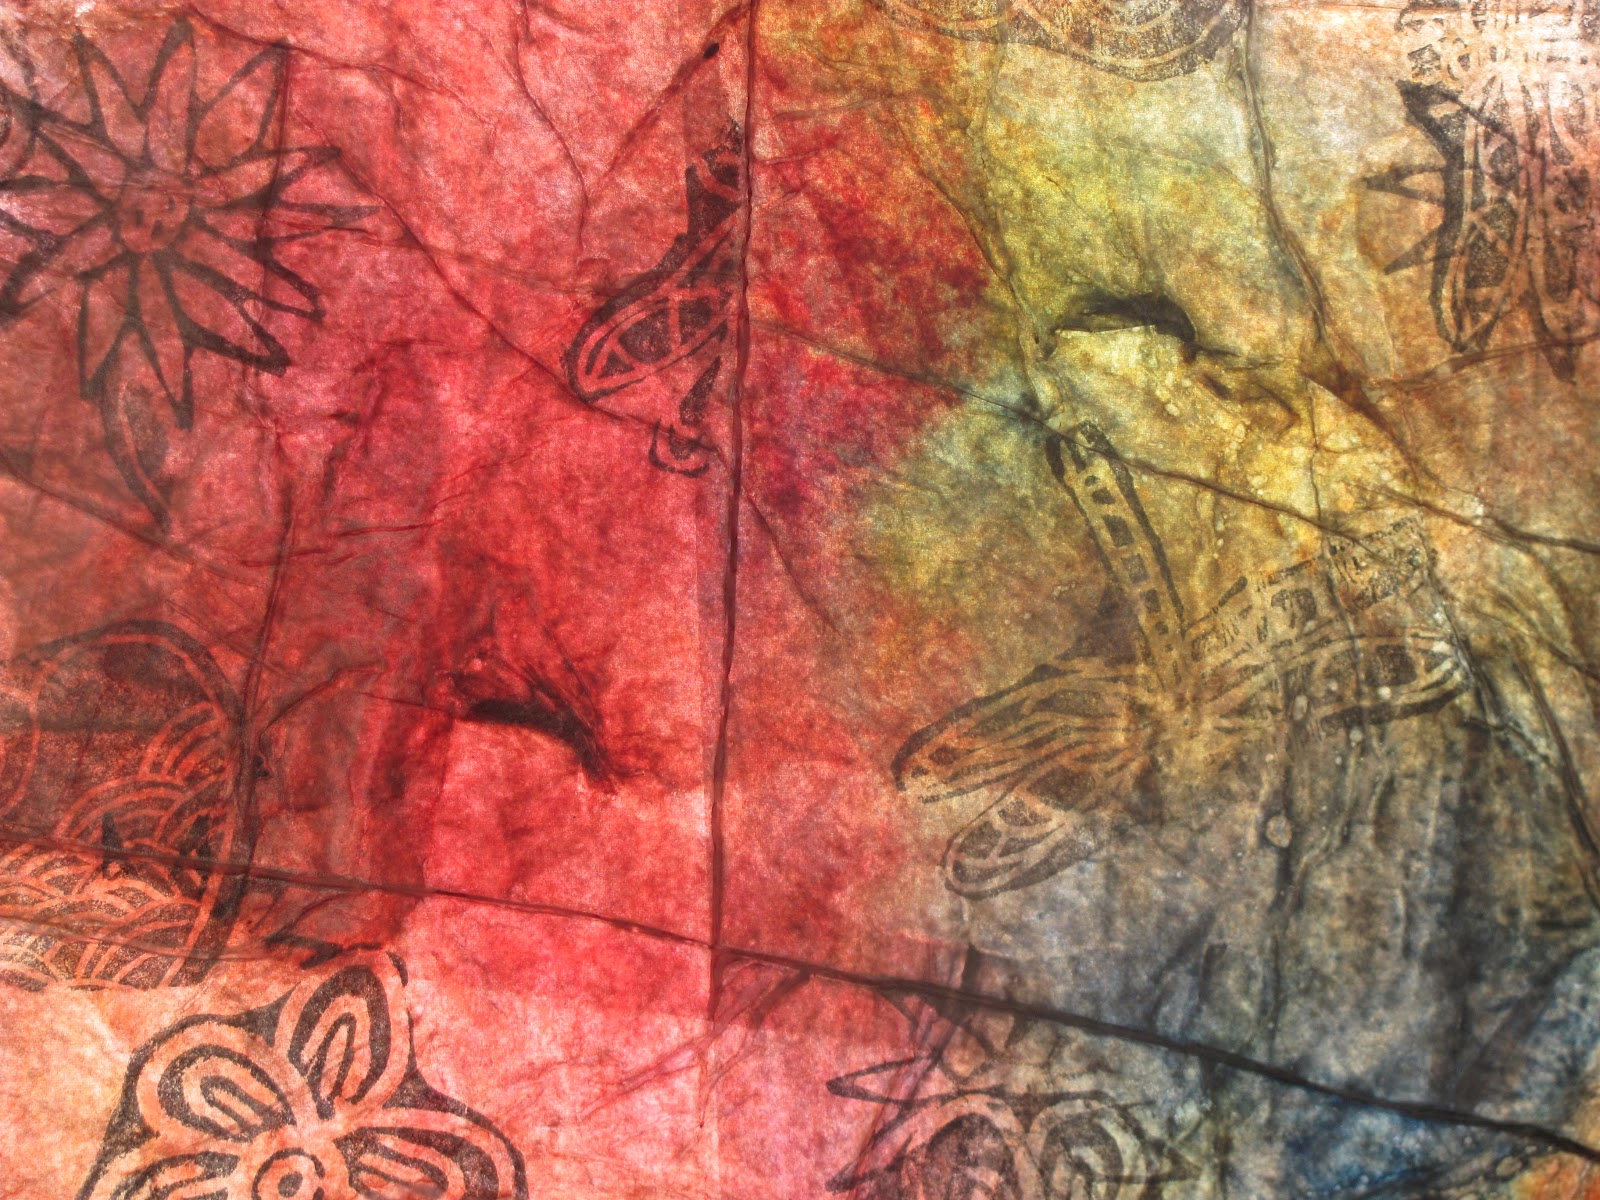
I spread my colors around using water so that they blended and then I sprayed through a place mat with flowers and butterflies with the spray paint and then added some designs in black paint on top while the other paint was wet. I sprayed glitter spray paint over top of everything. I let the whole thing dry overnight. When it was dry I heat set the paint.
For the inside cover I took a piece of muslin about the correct size and scrunched it up and put it in a container. I poured a mix of water and the Profab paint over the top and made sure that the whole piece was covered and wet. I let that sit for several hours and then poured off the extra and laid it out flat to dry. When that was dry I heat set the muslin piece. I was going for an aged look.
I took the canvas and a piece of cream felt the same size and sewed them together along the edges. I then did all the hand embroidery stitches on the canvas.
After I was done with that I put my piece of muslin over the felt and again sewed along the edges. Next I set up my sewing machine to do free motion stitching. (You can sew this way even with out a special setting on your machine as long as you can set your machine to a 0 stitch length and can lower or cover your feed dogs.) I free motion stitched around all my hand stitched designs. On the front I used circles in random sizes and on the back I used a stipple design which is just a random wiggle stitch. With the free motion stitching you control where the stitches go, not the machine. I use a medium fast speed and I move the fabric slowly to make my designs.
After the canvas sandwich was stitched all over I could treat it as one piece and I bound my pages into it using a simple long stitch. If you want to know more about the binding process you can join Effy Wild's boot camp where she will show you how to bind the book in more detail.
 After my book was bound I punched a hole into the middle of the flap and sewed around it with the blanket stitch. I braided three ribbons together and folded that in half and put the middle through the hole that I made. I put the ends of the ribbons through the loop and pulled it tight. This wraps around the journal to keep it closed.
 I left the ends of the linen thread long after I bound the book. I knotted all four of them together a few times and then I threaded on a bead. I knotted the thread again several times and added another bead. I kept doing this until I had four beads and a tail. I didn't count between the beads, I just knotted until I liked the look. I left the four threads loose at the end.
That is how I made this journal. If you have questions feel free to ask me and I will try to clarify for you.
Have a great weekend,
Janelle


 I left the ends of the linen thread long after I bound the book. I knotted all four of them together a few times and then I threaded on a bead. I knotted the thread again several times and added another bead. I kept doing this until I had four beads and a tail. I didn't count between the beads, I just knotted until I liked the look. I left the four threads loose at the end.
