I'm excited that I get to
share my project with you through this guest post for Artistcellar. They sell all kinds of supplies for artists and they have some truly wonderful stencils. You can read my post here: http://artistcellar.com/wp/2013/03/making-decorative-sachets/ I’m
going to share how I make decorative sachets so that you can fill your drawers
and closets with wonderful scents and pretty bags. These sachets will add
a pretty accent to your wardrobes.
I started by cutting muslin
fabric or other plain colored cotton into a rectangle. I cut mine
5 ½” X 11” which includes a ½” seam allowance.
I took my muslin and used
stencils to cover the whole piece with a pattern. I used Dylusions ink sprays which will spread and bleed
if you spray too heavily. I also used
Silks
acrylic glazes and fabric paints.

Next I took dry tea bags
that are opened up and flattened and used the stencils plus Dylusions ink sprays, Adirondack color wash sprays and Adirondack distress stains to get a pattern. I love using
tea bags because they give an instant aged grungy look. When you spray
the tea bags you need to spray lightly and from a bit further away so that the
ink doesn't spread too much or you will lose all the pattern from the
stencil.

After everything was dry I
heat set the muslin and then I cut the tea bags in half and positioned them on
the muslin. To get the correct placement I folded the muslin in half and
positioned the tea bag in the center bottom near the fold.
Then I unfolded the muslin
and sewed the tea bag down. Next I cut ribbons, lace, and threads from my
stash the width of the muslin. I used Artistcellar fibers too, from the Blueberry
mix and
the Mulberry
silk fibers. I sewed these down above the tea bag.
Next I made a focal image
to go on top of the tea bag. I used four different methods to get a focal
image. I like to have some variety and to try out different
ideas.
The first way was using
stamps. I stamped one of my hand
carved stamps onto
thick paper. I colored it in with Derwent Inktense pencils and let
it dry and then painted over the top of that with the Silks acrylic glaze.
I colored in the background with colored pencil and I inked the edge with a
Ranger distress ink pad for contrast. I then sewed this onto the tea bag.
The second way was making a
focal image by laying down a thin layer of Stewart Gill
Glitterati Fibers and
melting them between two sheets of parchment paper. After they cooled down I
cut out a heart shape from the fibers and also from muslin. I layered the
fibers on top of the muslin and sewed that to the tea bag.
The third way that I
created a focal image was by embroidering hearts onto the tea bag through the
tea bag and the muslin. I outlined each heart with a Pitt pen.
The last method that I used
to create my focal image was to draw or stencil an image onto deli paper using Pitt pens. I
colored in my images with Derwent Inktense pencils and I added a bit of glitter
gel pen and metallic paint to the images.

To create the bags I folded
them in half with the design inside. Then I stitched down each side ½” from the
outside edge leaving the top open. Then I turned it carefully so that the right
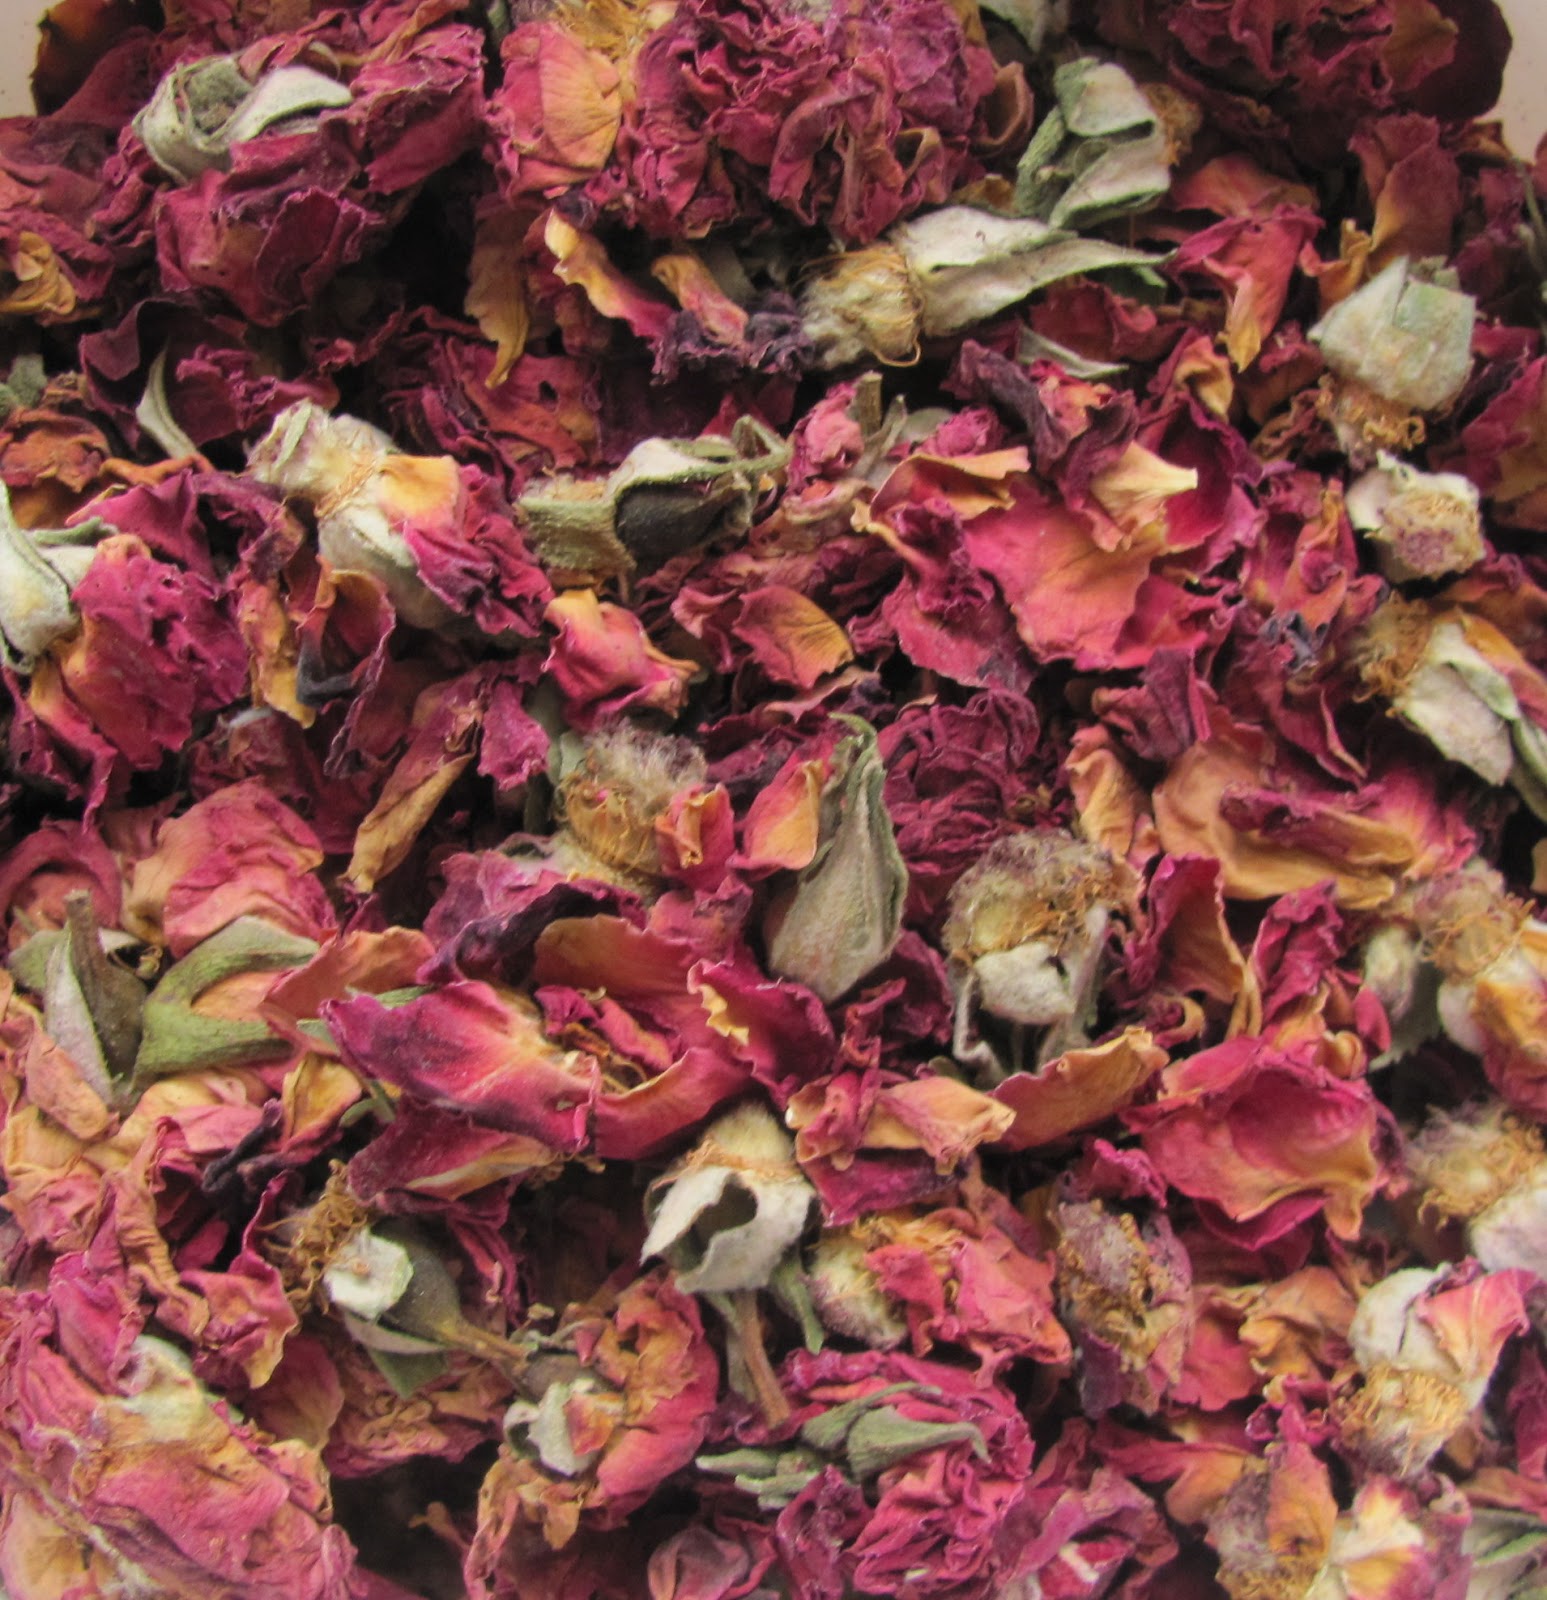
side is out. I filled the bags with lavender or rose petals.

You could use any type of herb
or potpourri to fill the bags with. After they are filled you turn the top to
the inside about ½”and stitch across it.
This project could
also be made using pre-made bags; you just need to slip a bit of waxy paper
inside before you stencil the bag. That way the paint or spray doesn't
go all the way through the bag. Just be aware that if you glue on the elements
instead of sewing them that the ink sprays will reactivate and bleed if they
get wet with the glue.
You can view more photos
from this project here.
These six sachets are now for sale. The first four are filled with lavender and the last two are filled with rose petals. You can contact me for details.
I hope that you have fun
making some sachets.
Janelle