We got a bunch of beautiful white snow this past weekend, about 14 inches of it. So I decided that it was the perfect time to replenish my stock of snow dyed fabric. I dyed four pieces that were about a 1/4 of a yard and one piece that was about 1/2 a yard. I usually use a screen or a rack when I'm snow dyeing so that the melted snow and dye can drain into the bottom of the container and not soak into the fabric. I like the unique patterns that this method of dyeing creates in the fabric. This time however I decided to experiment and put one piece of fabric into the bottom of the tub with out a screen. I wanted to see what the difference would be in the patterning. I did notice a difference, which I will show you later. Here is a snow dyeing post from last year, if you would like to see more details and fabric examples.
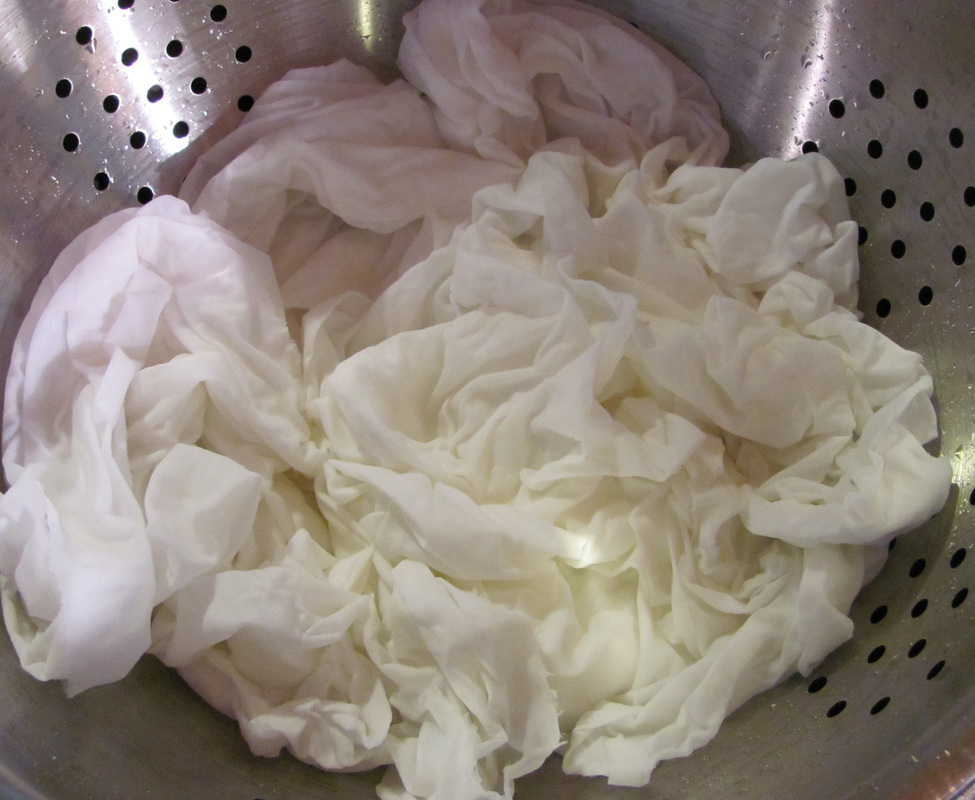
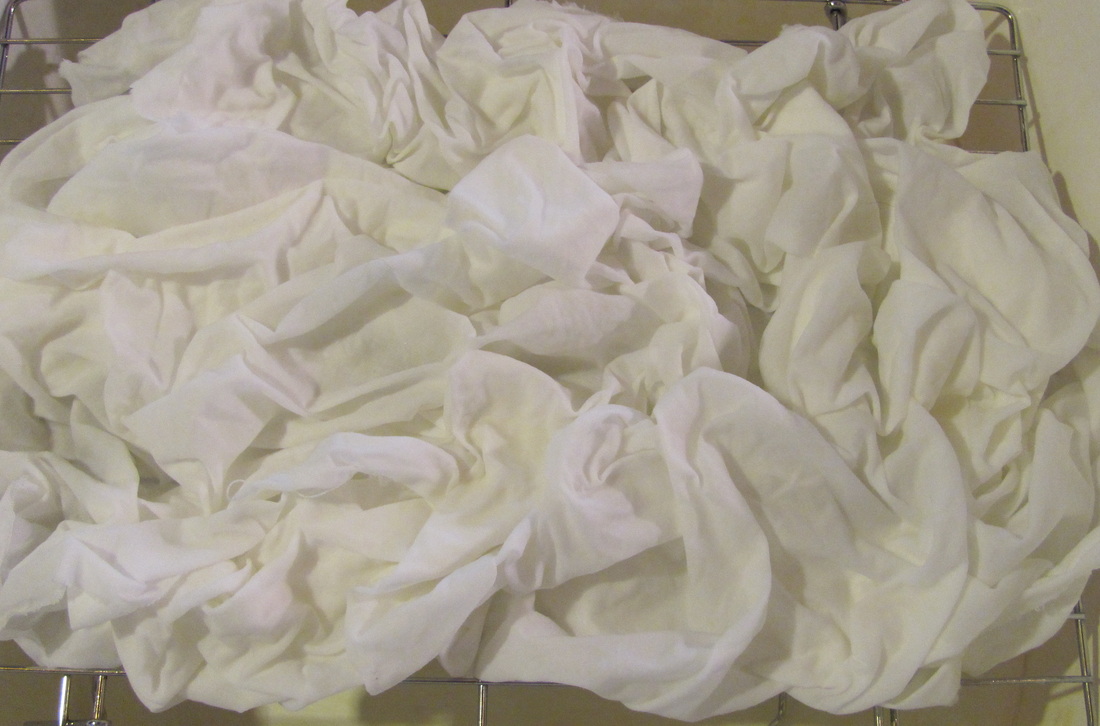
I start with fabric soaked in soda ash and then arrange it in the container.
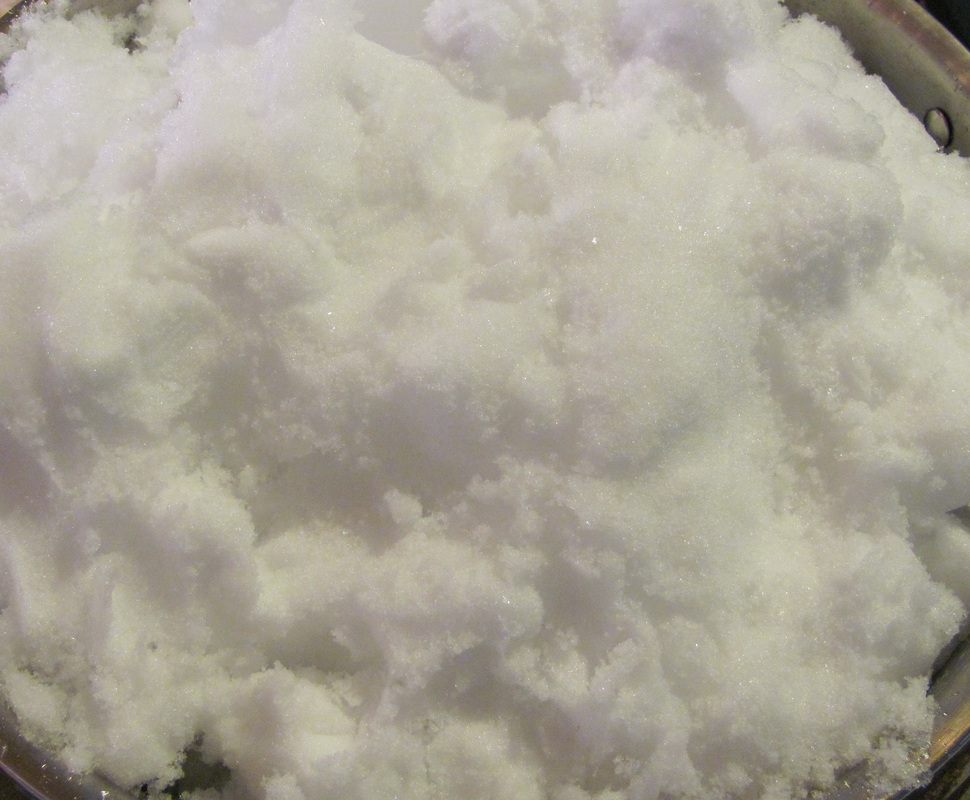
I cover the fabric with a layer of snow. I like to make sure that all the fabric is covered completely.
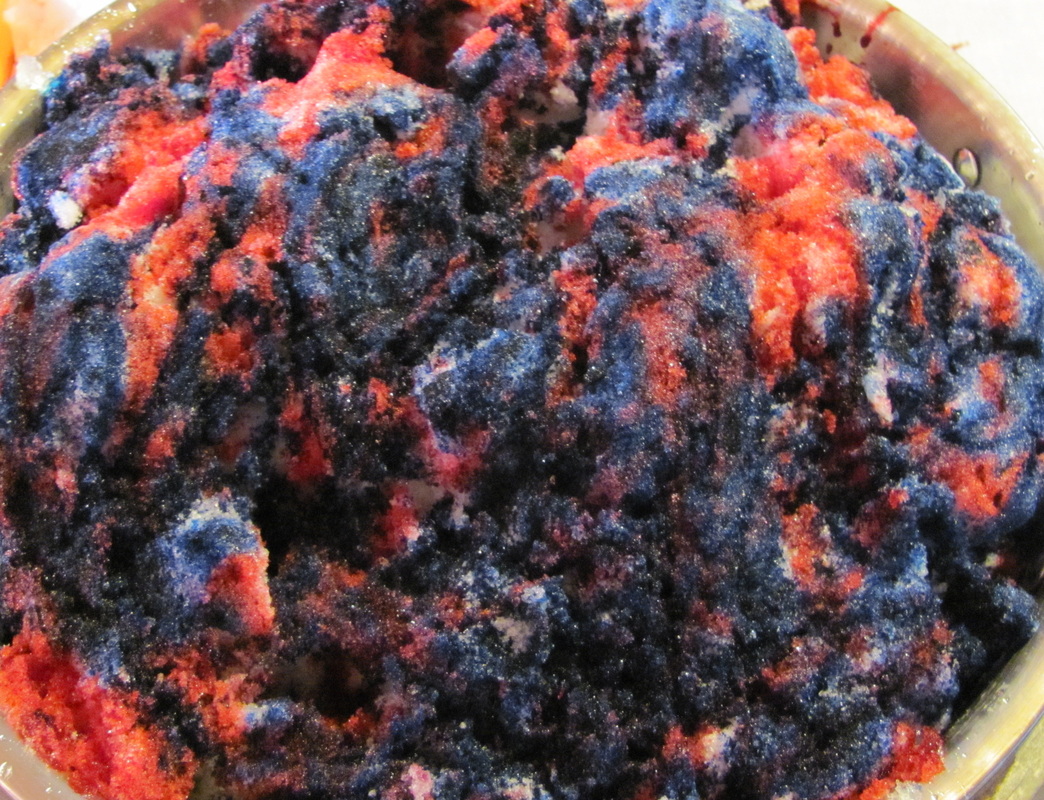
Then I squirt my prepared dyes over the snow.
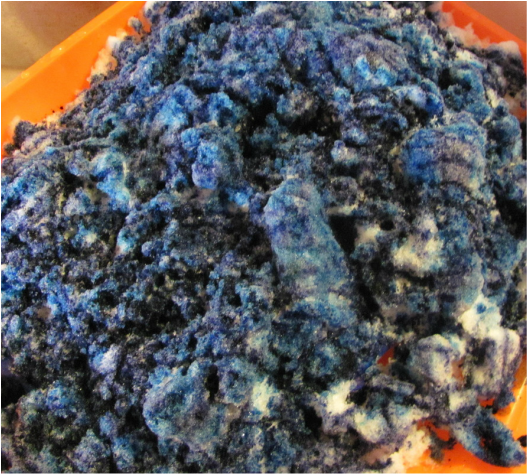
Once I get all the fabric covered in snow and dye I cover it and leave it for about 24 hours. After that time the snow has melted and carried the dyes into the fabric.
Here is the fabric that I let sit in the snow and dye.
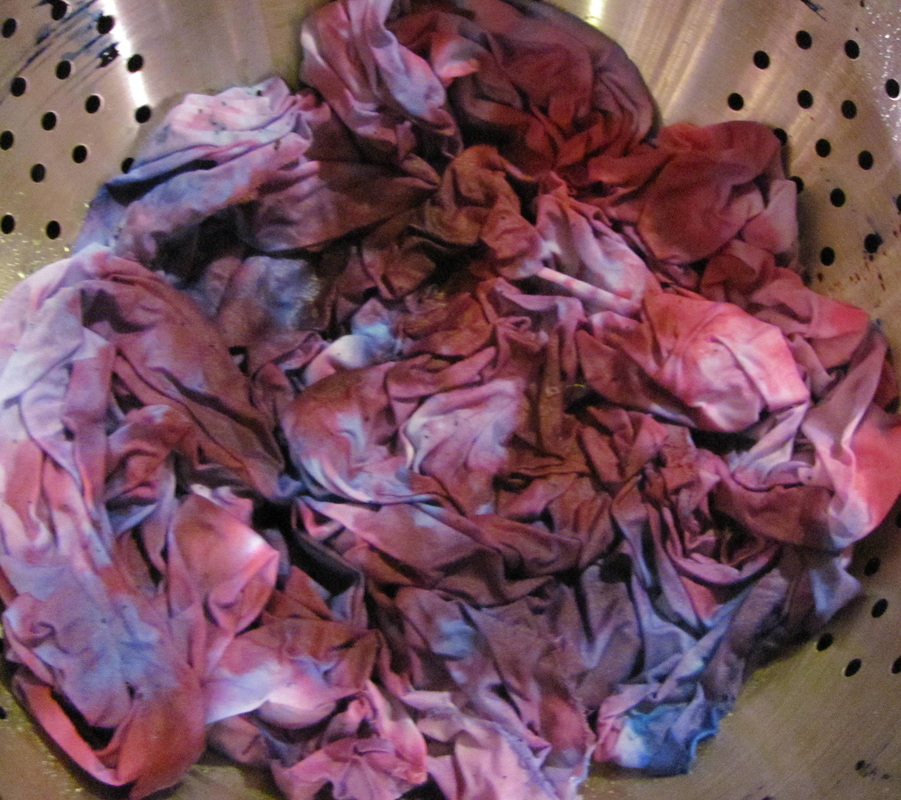
I give all the fabric a rinse and soak in cold water and then I wash them several times to get all the excess dye out. I use hot water and synthrapol to make sure that the excess gets washed out.
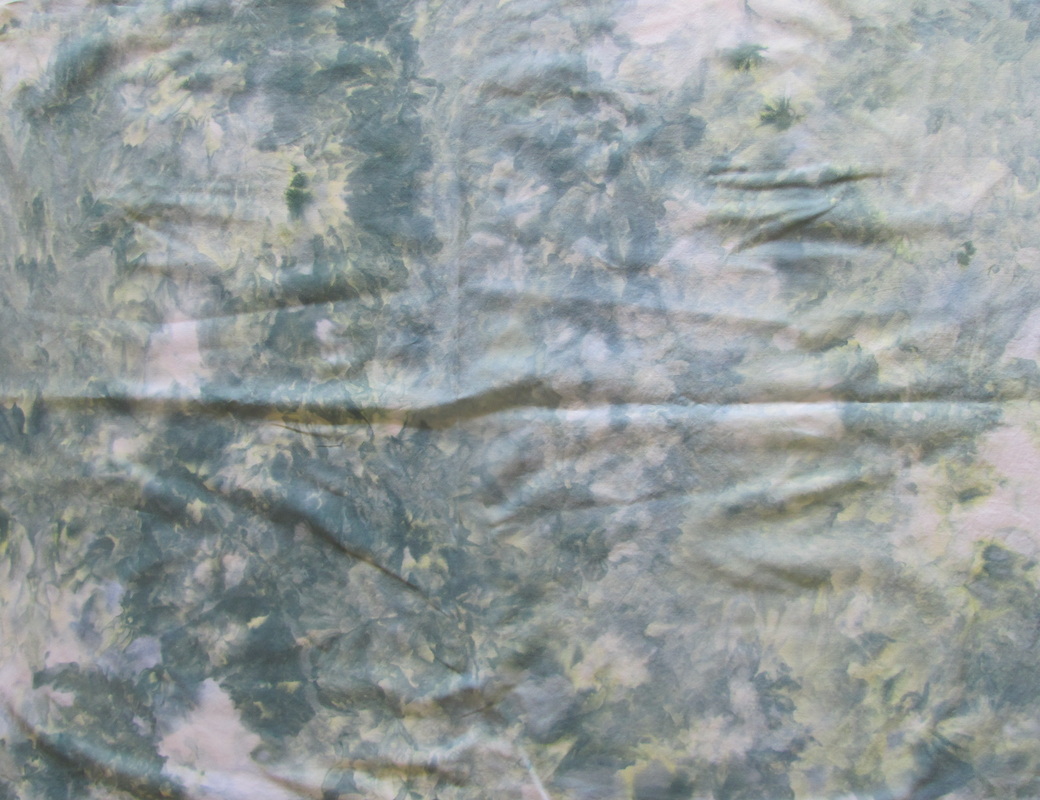
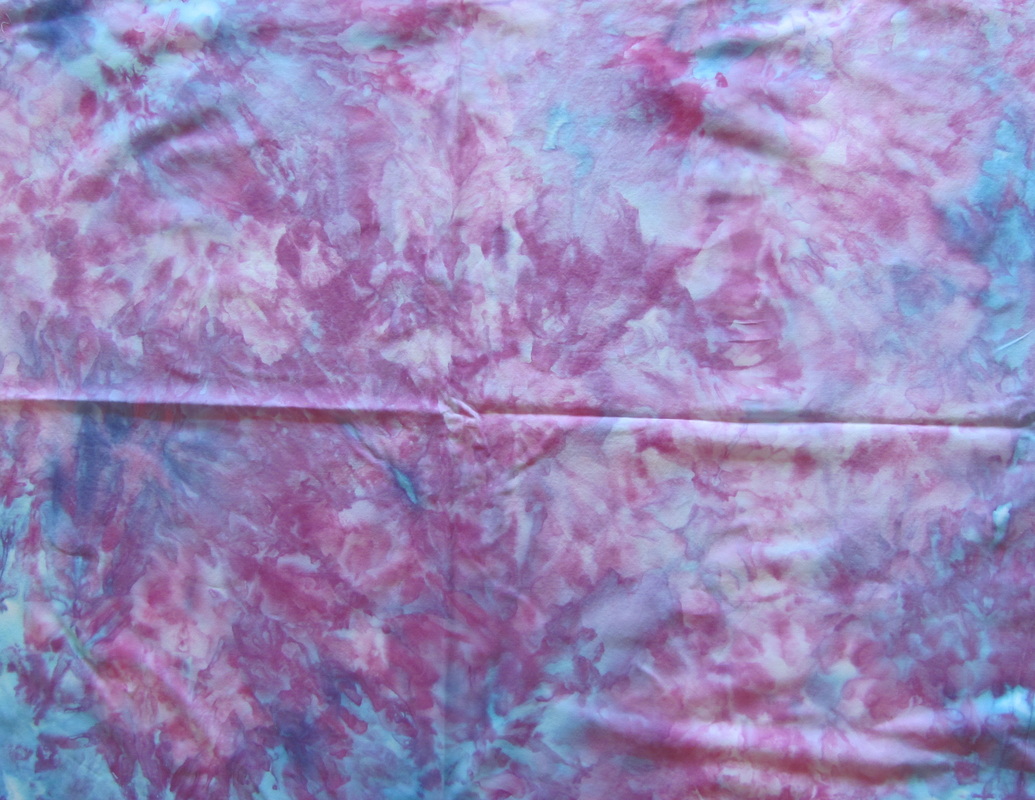
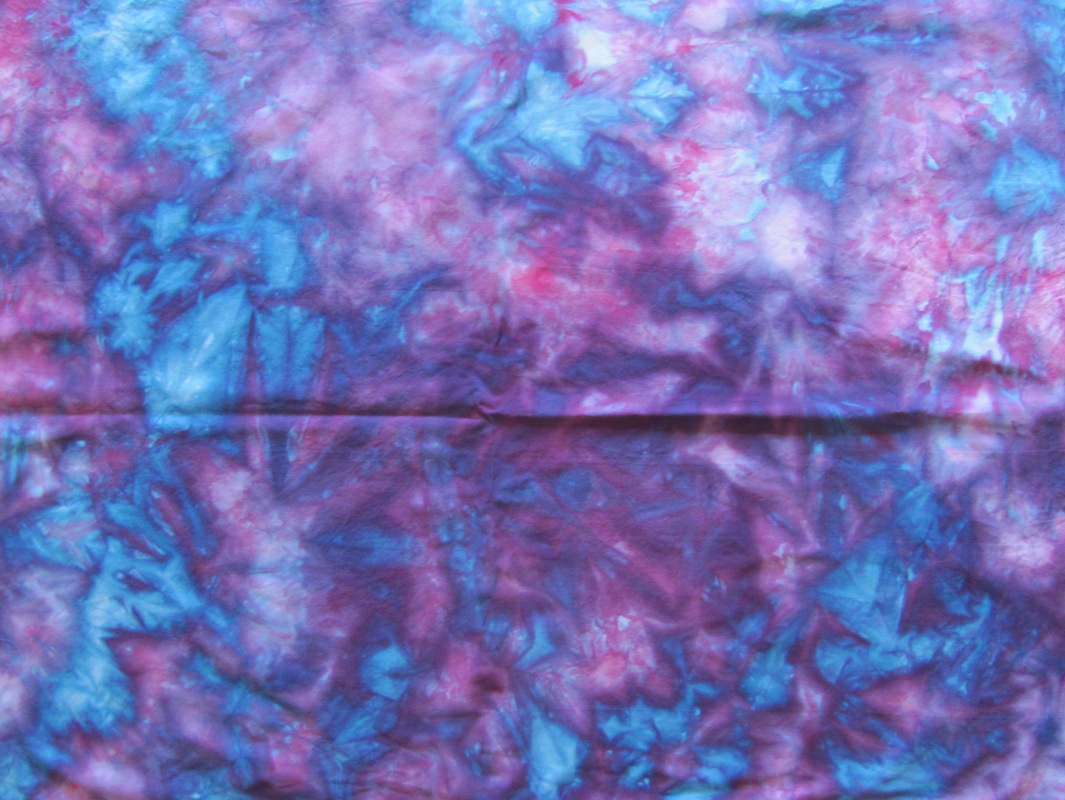
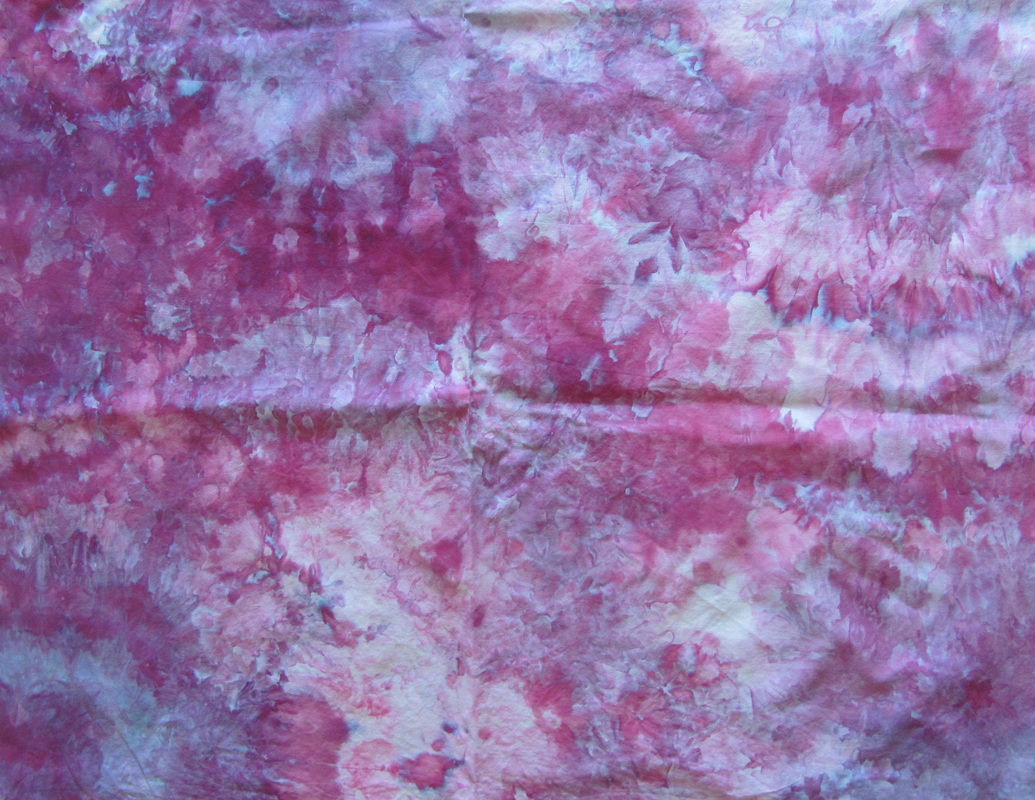
Here are the fabrics that I dyed after washing and drying.
This one came out a bit lighter than I wanted, but I have some ideas for more surface design to punch up the brightness.
I like the sky and forest colors of this piece.
I think that I create a similar fabric every year because I just love the blues, pinks, and purples.
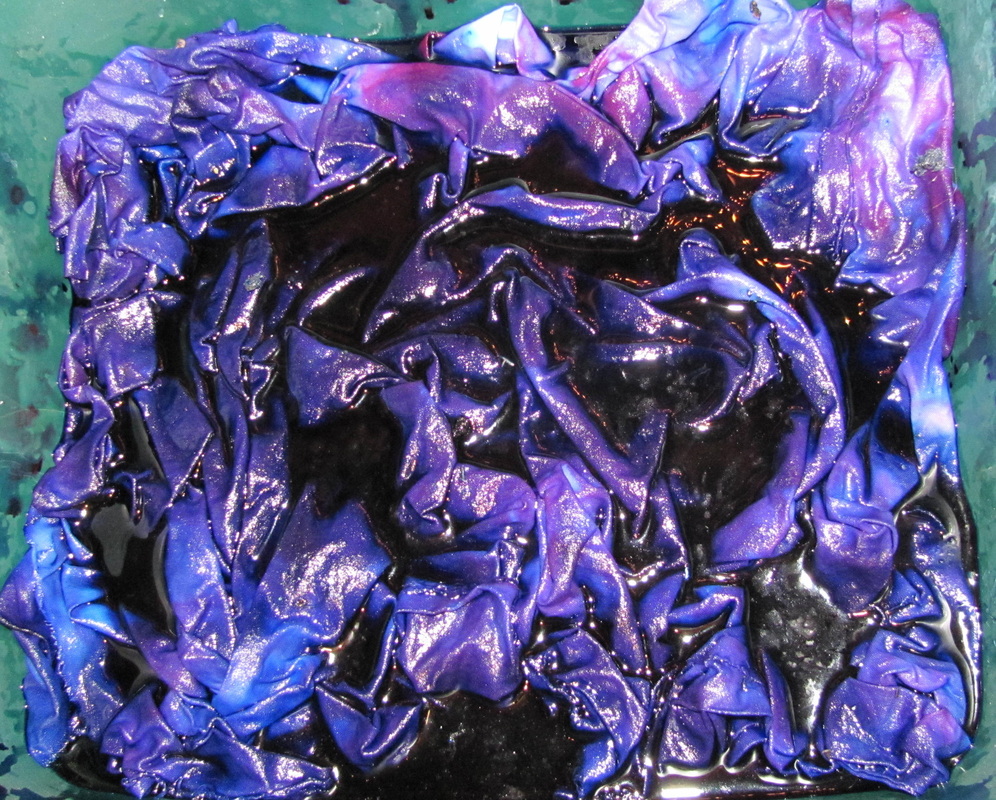
This is the fabric that set directly in the tub with the dye. The patterns aren't as delicate as when the fabric sits above the dye. The colors are darker and more intense however. It is a beautiful fabric and has a lot of potential.
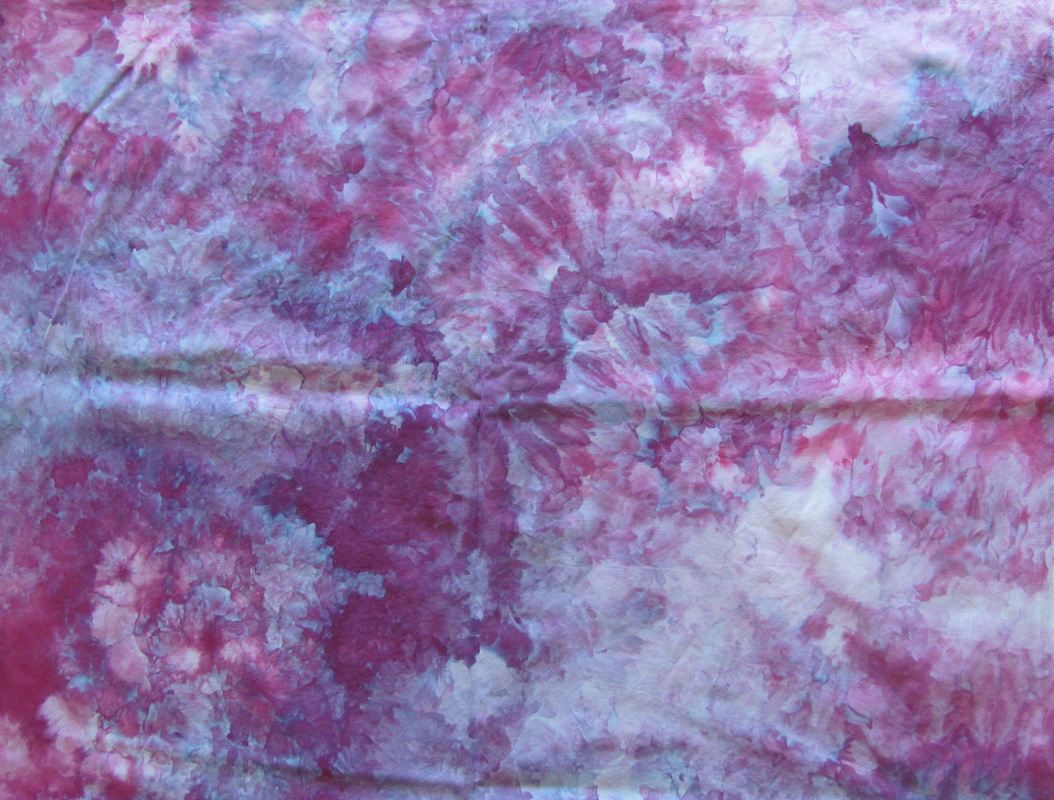
The next two photos are the larger piece of fabric. I had to take one side and then the other because of the size.
I love the patterns of this piece and the colors too. They are some of my favorites.
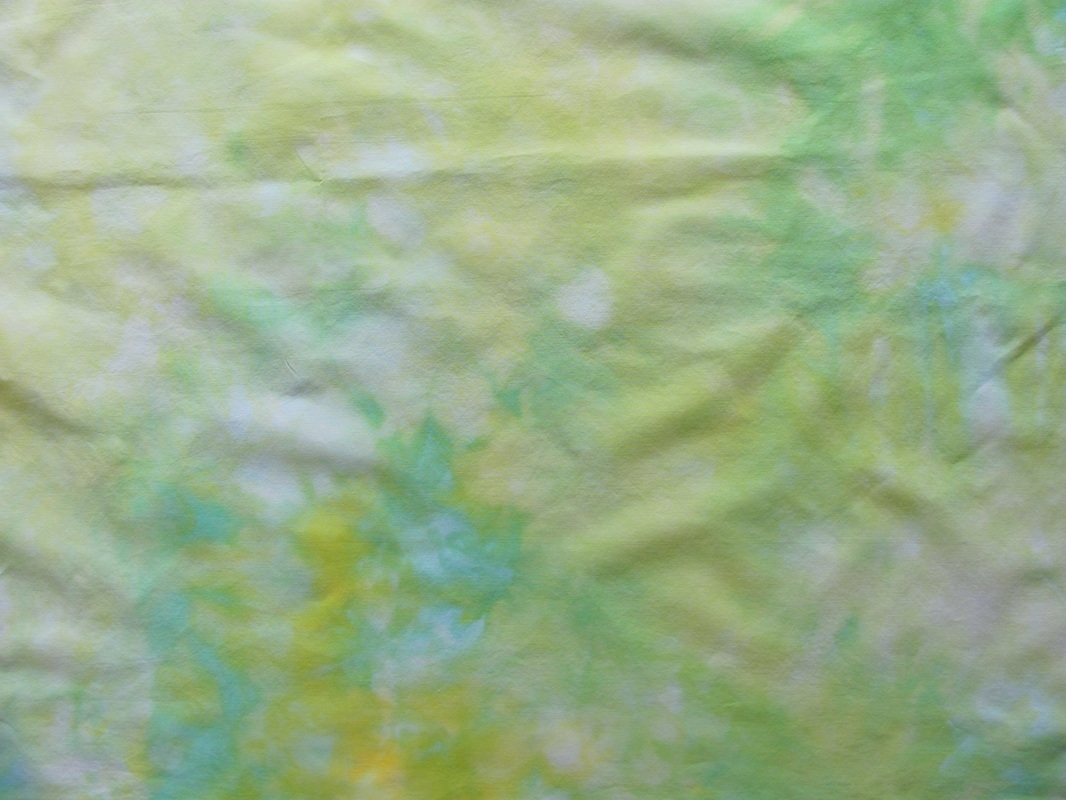
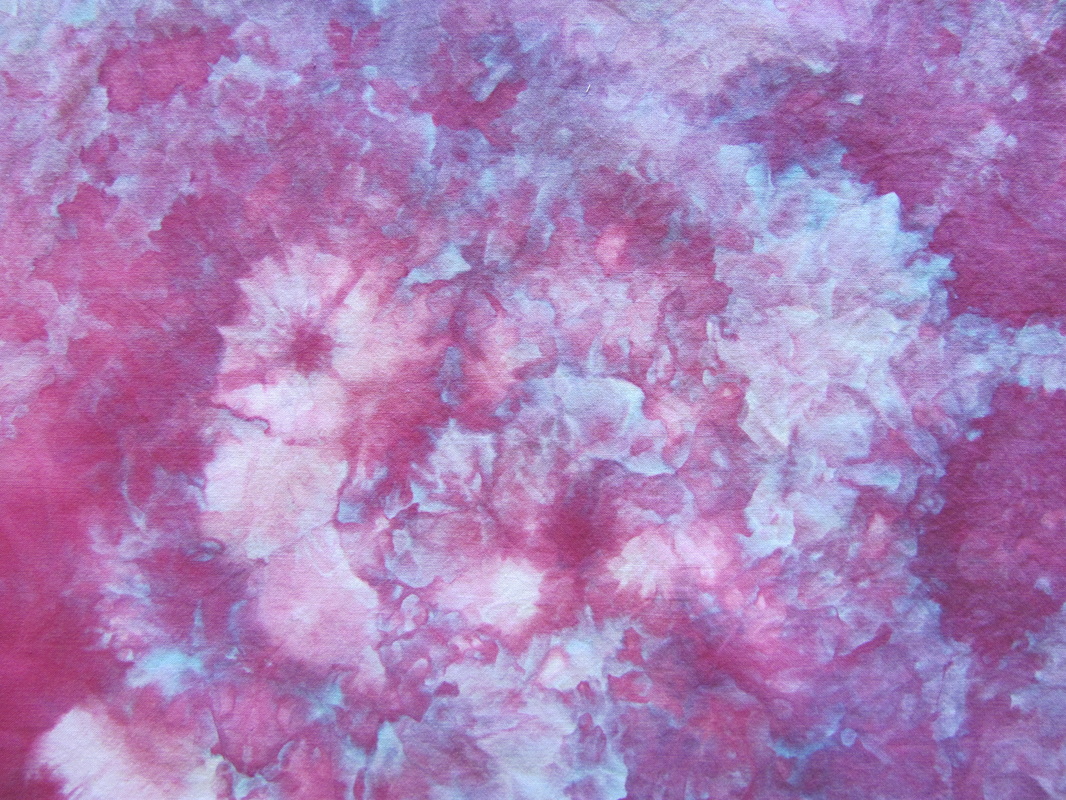
Here is a close up of part of the fabric that reminds me of flowers.
Now you know that beauty can come from snow and fabric dye.
I hope that you enjoyed the process. Until next time! Janelle
I created my first felted bowl recently. I wet felted it using a resist technique. I did enjoy the process and want to play around more with this technique. I have admired many felted vessels and I'm happy that I started learning to make them too. If you would like to see the tutorial that I learned from, you can find thathere.
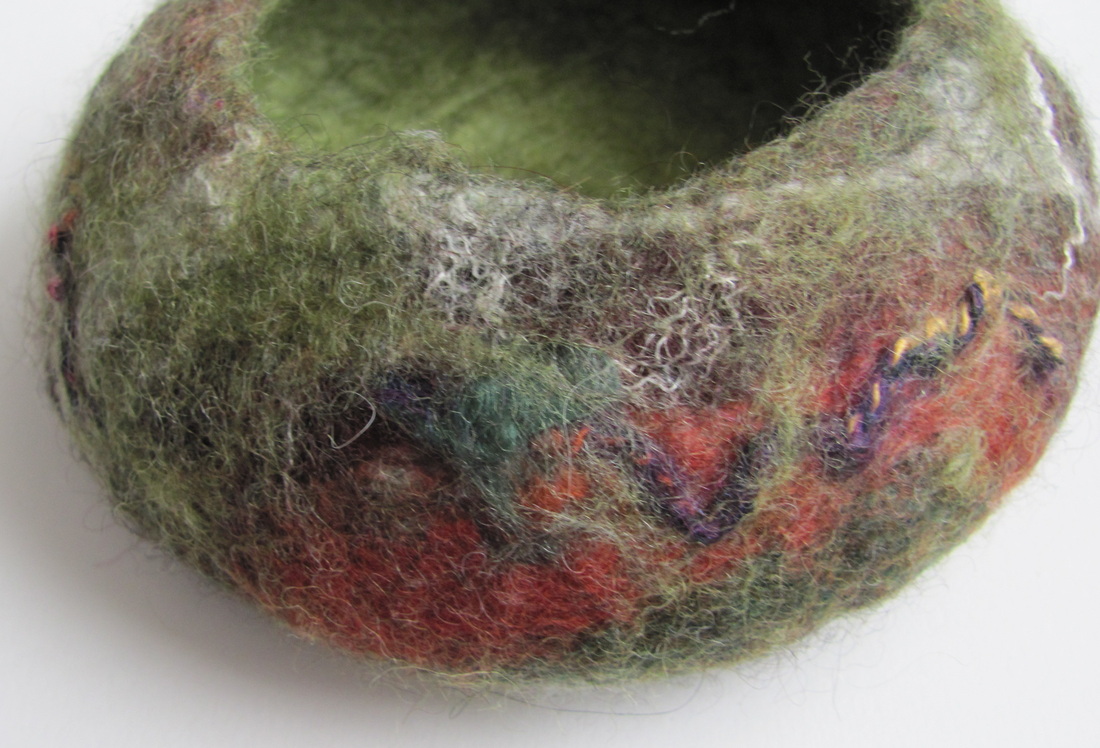
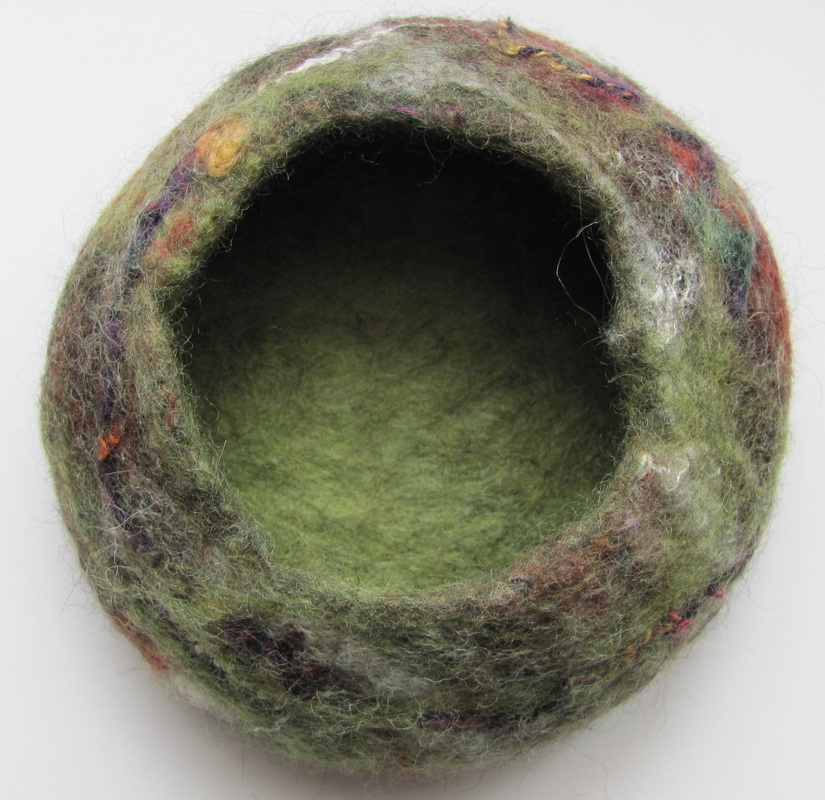
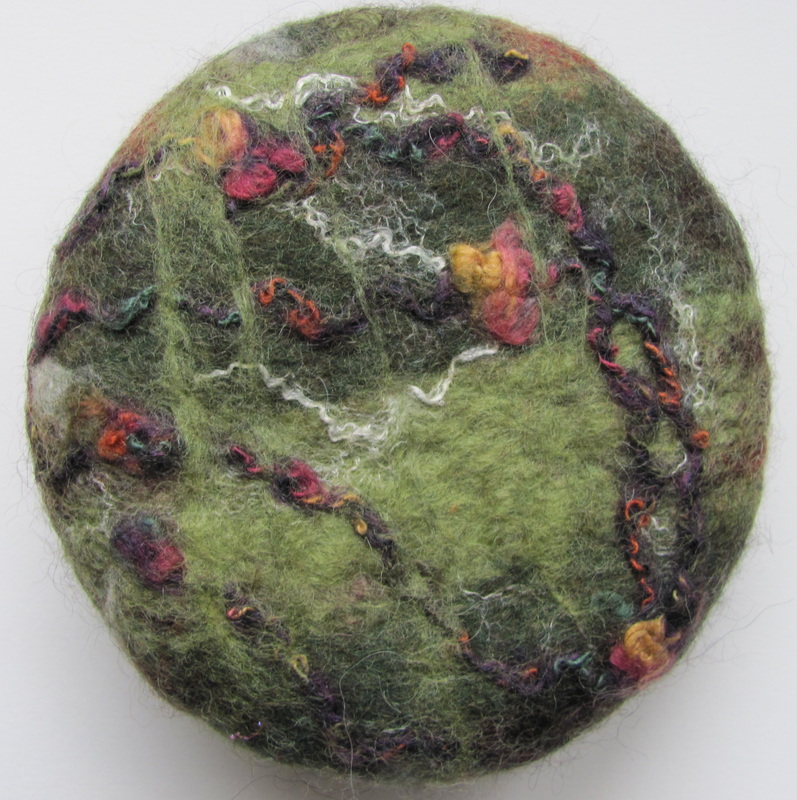
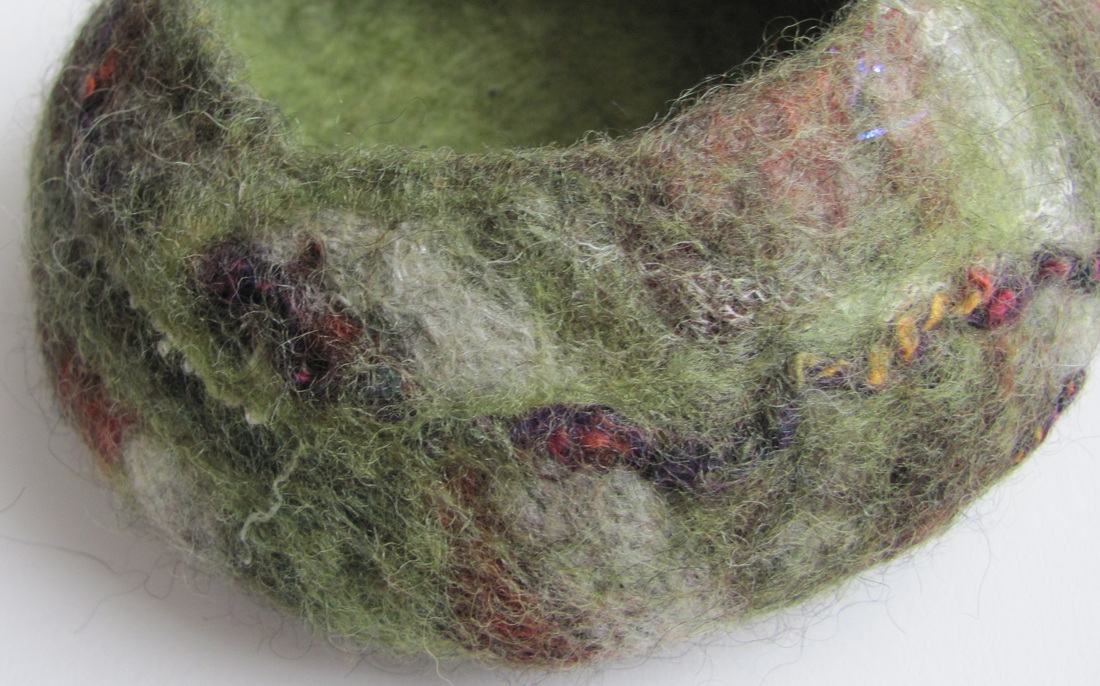
I used earth tones this time around. I used a mix of wool and alpaca roving with a little silk and fancy yarn for the outside. Inside I used a lighter color green roving.
You can see the silk and fancy yarn on the bottom of the bowl.
Here is another side view.
This bowl is pretty small. It would be perfect for putting your keys or loose change in by the door when you come home. It would also look beautiful filled with pretty stones or shells, or some other small pretty bits.
Next time I want to try a larger bowl with different colors. I would also like to opening to turn out a bit more organic next time. I hope you enjoyed seeing a bit of what I have been up to. Enjoy your weekend, Janelle |
Friday, February 6, 2015
Felted Bowl
Subscribe to:
Post Comments (Atom)

No comments:
Post a Comment